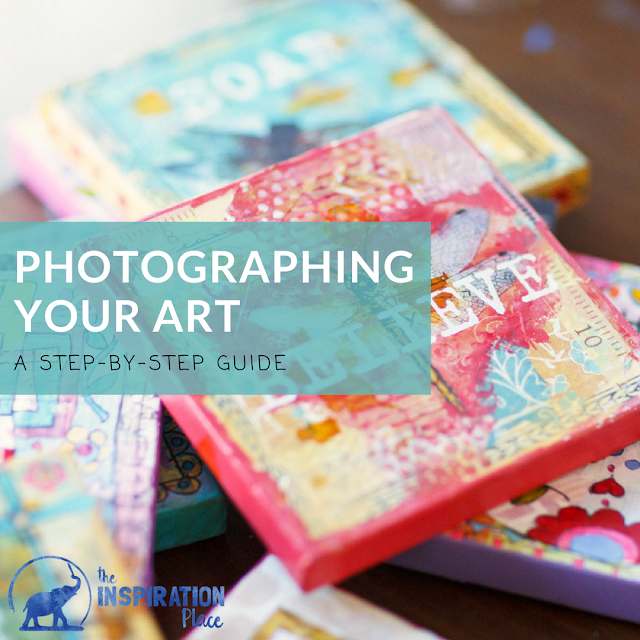
Since a picture is worth a thousand words, for visual artists and other product-based businesses, this could also mean thousands of dollars! Getting the images you need of your artwork is not difficult to do. Here’s a step by step guide on how to photographs your art without fancy studio equipment.
 Step 1. Get what you need: Lights, Camera, and Artwork.
You’ll need an overcast day, one that is bright, but not too sunny. Find an area outdoors that has an even amount of light. This could be in the shade. Make sure there are no dapples of light, and that there are no brightly colored objects nearby (that blue swimming pool or red wagon could reflect its light on your art)
You’ll also need a digital camera with high resolution unless you have lens attachments for your smart phone and advanced training in taking photos with it.
Once you find an area of light, place your painting on a flat upright surface.
 Step 2: Take a picture.
The most important thing to consider when you are photographing your work is to be sure the picture is square in the frame. This means that the edges of the artwork are even with the edges of your picture. What you DON’T want is your picture to appear at a slanted angle or look like a trapezoid.
Use a tripod to hold the camera steady.
Use a tripod to hold the camera steady.
 Step 3: Crop the Extras.
Now that you have your pictures taken, you will need to go back and crop the images. If you are using a digital camera, you’ll be uploading the images to your computer to do this on an image editing program.
 Step 4: Adjust the Brightness and Contrast if needed.
If you are shooting your artwork in bright overcast light, the colors on your work will be pretty close to how they appear in real life. Sometimes, however, you’ll notice a blue haze on pictures taken on a sunny day. You may want to remove some of the blue haze (usually an “auto correct color” feature can handle this for you), and also go back in to adjust the brightness and contrast of your images because even on the best day, sometimes the light bleaches out the richness of your work.
Final Note:
I highly recommend that you shoot all of your artwork at the same time. If you are working on a new collection, finish the collection first and THEN take pictures in one session. This will save you from the dreaded variations in light temperature that happens when you shoot on separate days in different lighting conditions. If you follow these guidelines, taking pictures of your artwork will be an enjoyable part of the process.
FREE Photography Equipment Shopping Guide
If you aren’t able to shoot outdoors, then I happen to have a pretty awesome photography guide, where you can learn the tools and techniques I use in case I need to shoot my work indoors.
In case we haven't met yet...
About the Artist (Miriam Schulman)
 In case we haven’t met yet, I’m a watercolor and mixed media artist. My art has been featured in numerous publications such as Somerset Studio, and I’m the founder of The Inspiration Place where I give my students stepping stones to create beautiful art as well as the emotional support they need to stay inspired.
See the art I create at schulmanArt.com or learn how to paint with me at TheInspirationPlace.net
Other blog posts you might like:
-
7 Daily Creative Habits for Increased Focus and Productivity
- Insider's Look at the Creative Process
- How to Price Art

